How to Field Strip and Reassemble a Staccato HD 3.6
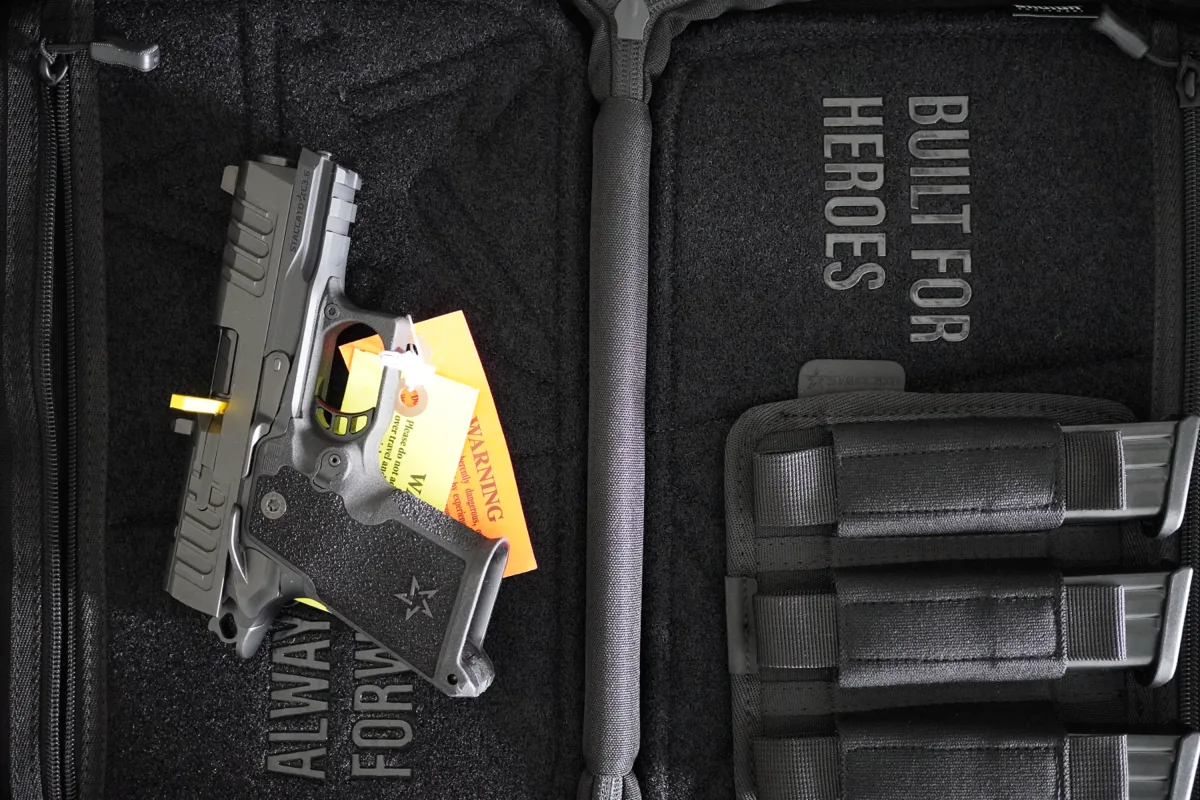
I just got my first Staccato - an HD 3.6. While picking it up in the store, I tried to figure out how to take it apart. I've owned a few 1911s, so I figured this would be familiar territory. It wasn't.
Unlike a 1911 - and unlike earlier Staccato 2011s - the HD slide has a single notch on its left side that does double duty. It's both the slide stop notch (where the slide locks open) and the takedown window (where the slide stop's vertical body lines up to come out). A traditional 1911 has two separate cuts: a slide stop notch for the lock-open position and a smaller half-moon takedown notch slightly forward of it, so you can align the pin at a specific half-rack position. On the HD you don't get that choice - the slide has to be almost fully locked open before the slide stop can come out.
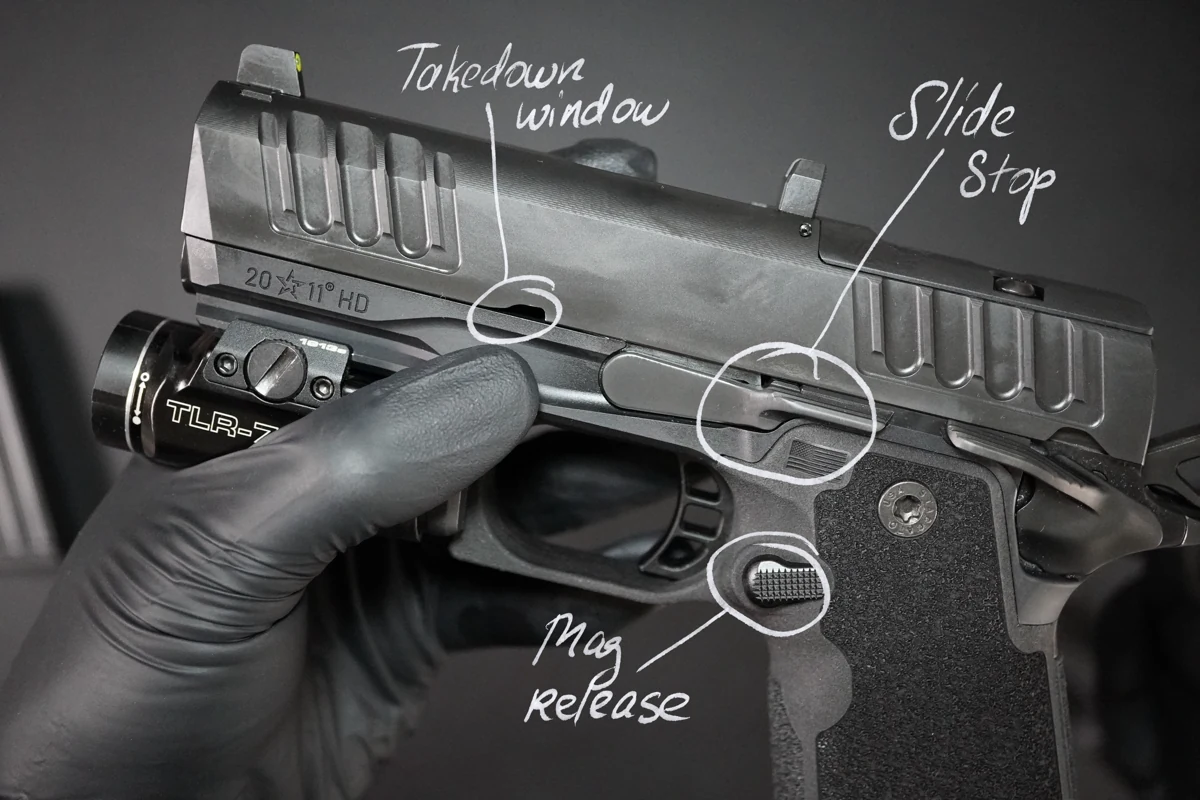
Looks like I was not alone with this problem. Especially since the official guidance to takedown from Staccato manual or video tutorials don't really work for a brand new gun. So I did some web search and also got some advice from guys at LGS, and found 3 ways to takedown HD 3.6.
Three Ways to Take It Apart
- Official manual (works after break in).
Both paper manual and videos from Staccato instruct you to pinch the slide stop with the thumb and index finger of your non-firing hand and pull it out from the left side. This makes sense and it works great after break in (400 rounds for my gun), but for a new pistol out of the factory it can be very difficult. Someone on Reddit mentioned that they tried to pull it out with pliers and scratched the takedown lever. This method didn't work for me on a new gun.
- The punch method (kind of works but can scratch the gun).
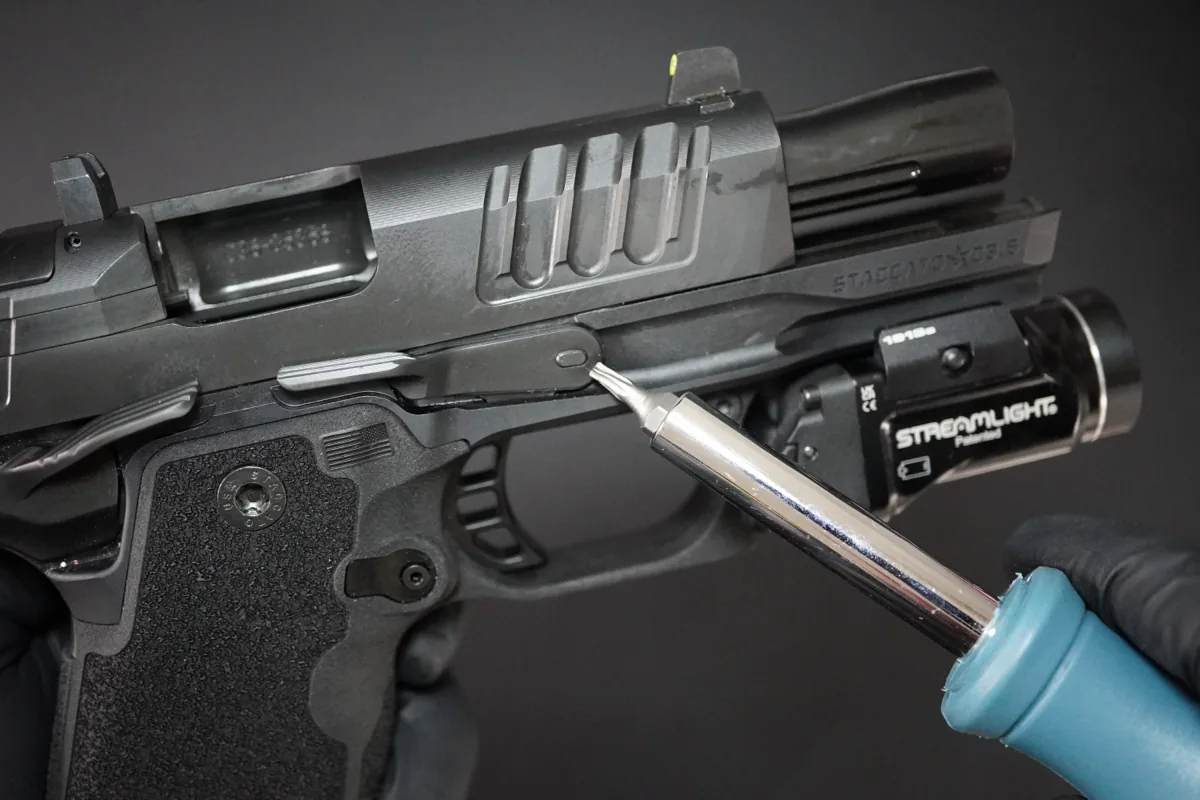
When I tried to take mine apart in the store, the manager told me to grab a punch and tap the slide stop out from the right side. I later saw the same advice in a written review from PewPewTactical. I actually tried this method, but it's really awkward and didn't work for me personally. The problem here is that you need to match the window with takedown lever in one place, then rotate the gun and push with a punch in another place, while holding a stiff recoil spring. With a margin of error this procedure requires it may take you a lot of time to get it right. Also if your punch is not all plastic, you can get a nasty scratch on a new gun.
- Push from inside (works for new gun).
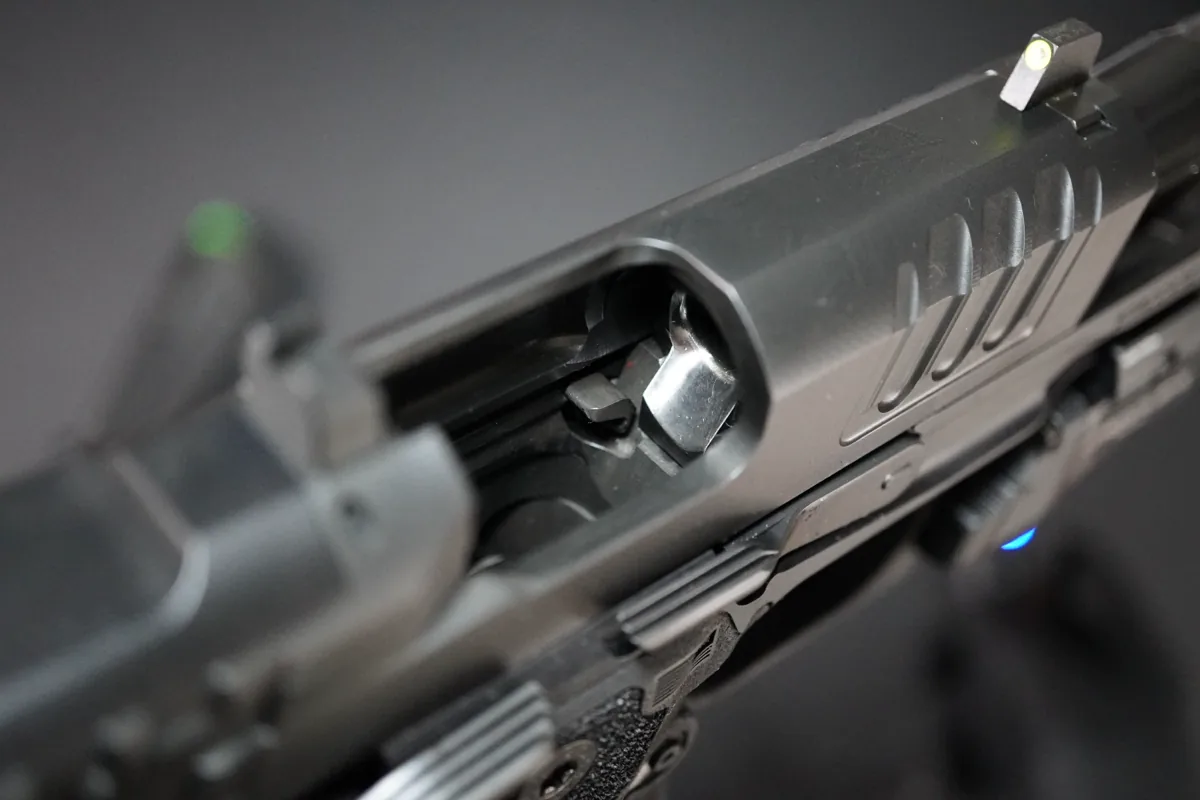
This is the one I recommend for a new gun. No metal-on-finish, no death grip on the lever. You just need to hold the slide close to locked open and push the slide stop through from the inside of the ejection port. Position the gun against some light source so it was easier to match the position of the slide stop and the takedown window. You can push it with a finger or some polymer tool, like a channel cleaner.
The third option is what the rest of this guide walks through.
Part 1: Confirm It's Unloaded
Step 1. Press the magazine release and remove the magazine. Removing the mag does not empty the chamber.
Step 2. With your finger off the trigger, pull the slide fully to the rear and push the slide stop up so the slide locks open. On a new HD 3.6 the recoil spring is stiff - if you're struggling, insert the empty magazine first and rack the slide; the empty mag will lock it open for you.
Step 3. Look into the chamber and the magazine well. Then feel into the chamber with a finger. Don't skip this.
Part 2: The Easy Method for a New HD 3.6
You'll need one plastic tool that fits through the ejection port. I use the plastic tip of a slide rail cleaner - basically anything plastic works. Don't use a screwdriver or a metal punch from this side: you'll scratch the finish inside the slide.
Step 4. With the magazine out and the chamber confirmed empty, lock the slide fully to the rear on the slide stop. The takedown window in the slide needs to align with the slide stop's body.
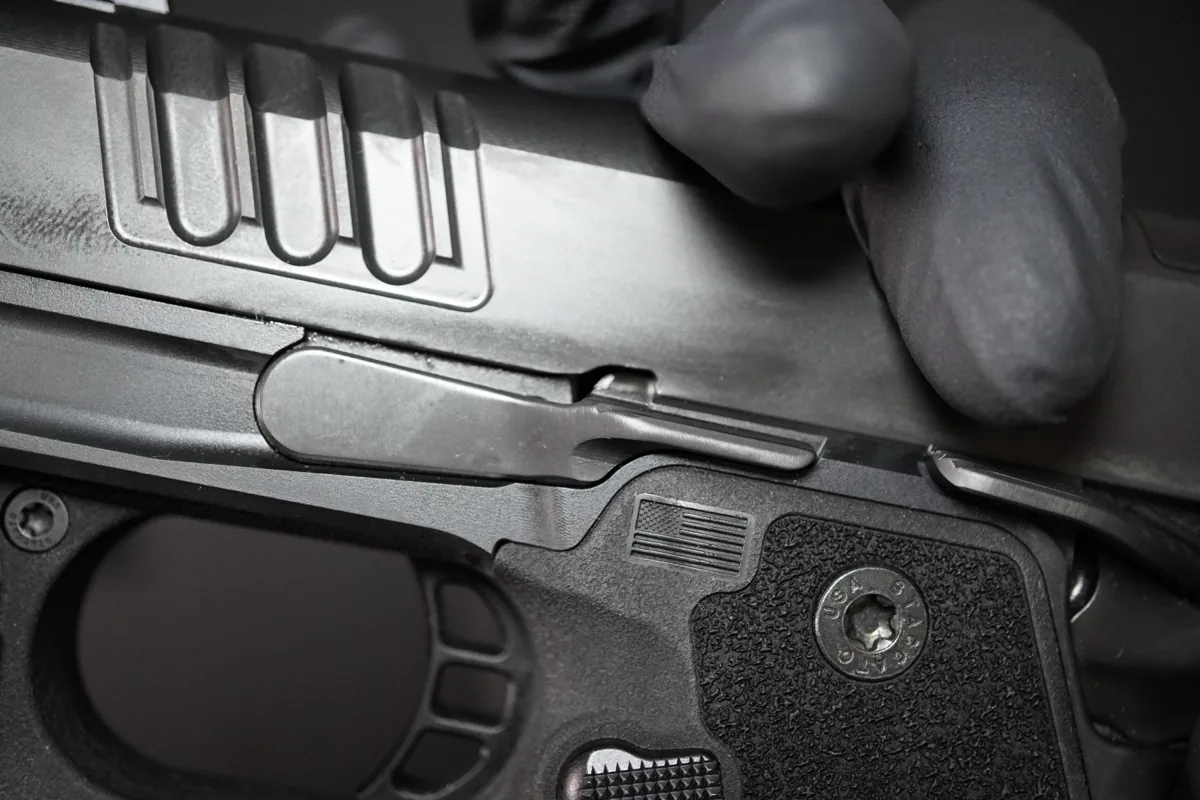
Step 5. Hold the slide locked back with your support hand. The recoil spring on a new HD 3.6 is stiff and will fight you, so a firm grip matters. If the slide creeps forward off the slide stop, the cross-pin will pinch in the frame and nothing will move.
Step 6. Reach into the ejection port with your plastic tool and bear against the interior surface of the slide stop - the small protrusion you can see through the takedown window. Push toward the lever side (left). As the slide stop's cross-pin walks sideways through the frame, the lever will start to stand off the left side of the frame.
If you see and feel the slide stop start to move, you're doing it right. If nothing moves, the slide isn't back far enough, the takedown window isn't fully aligned with the slide stop's body, or you're pushing on the wrong spot. Reset and try again.
Step 7. Once the lever has stood off the frame enough to pinch, pull the slide stop the rest of the way out of the frame.
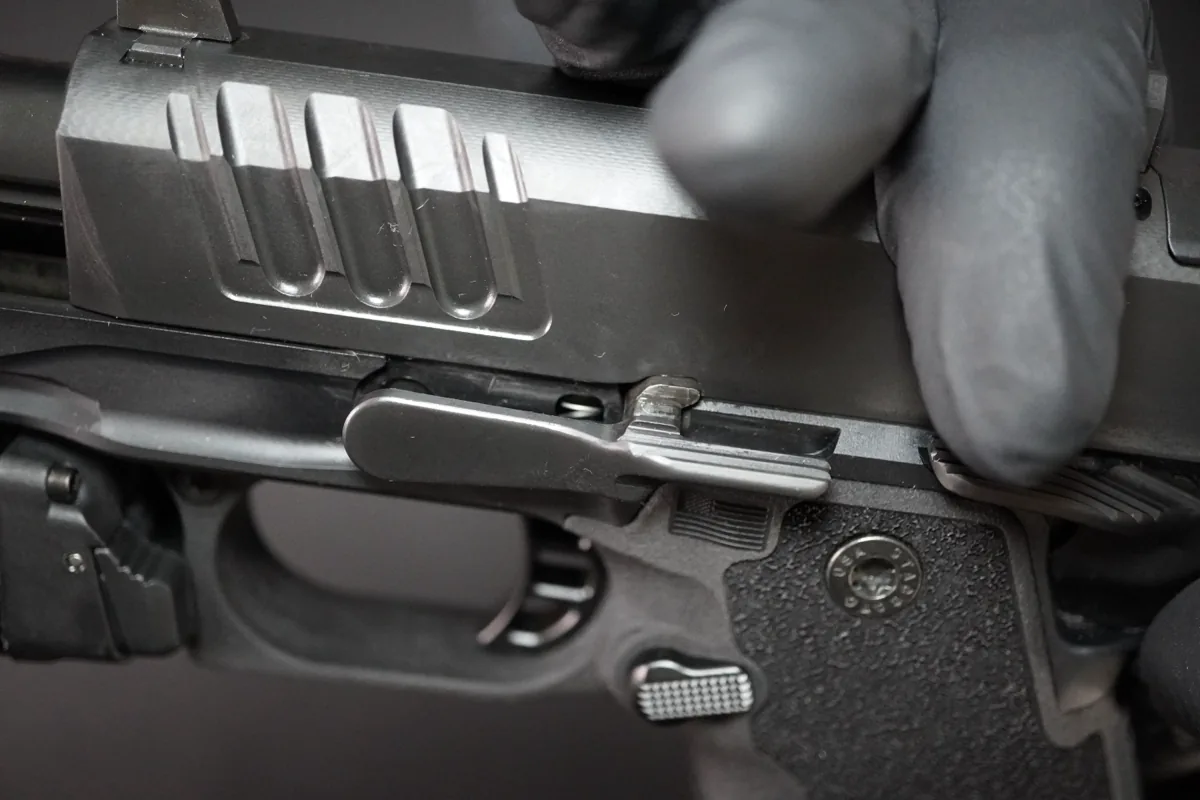
Step 8. Ease the slide forward off the frame. Keep both hands on it - the recoil spring is still under tension and the slide will want to jump forward.
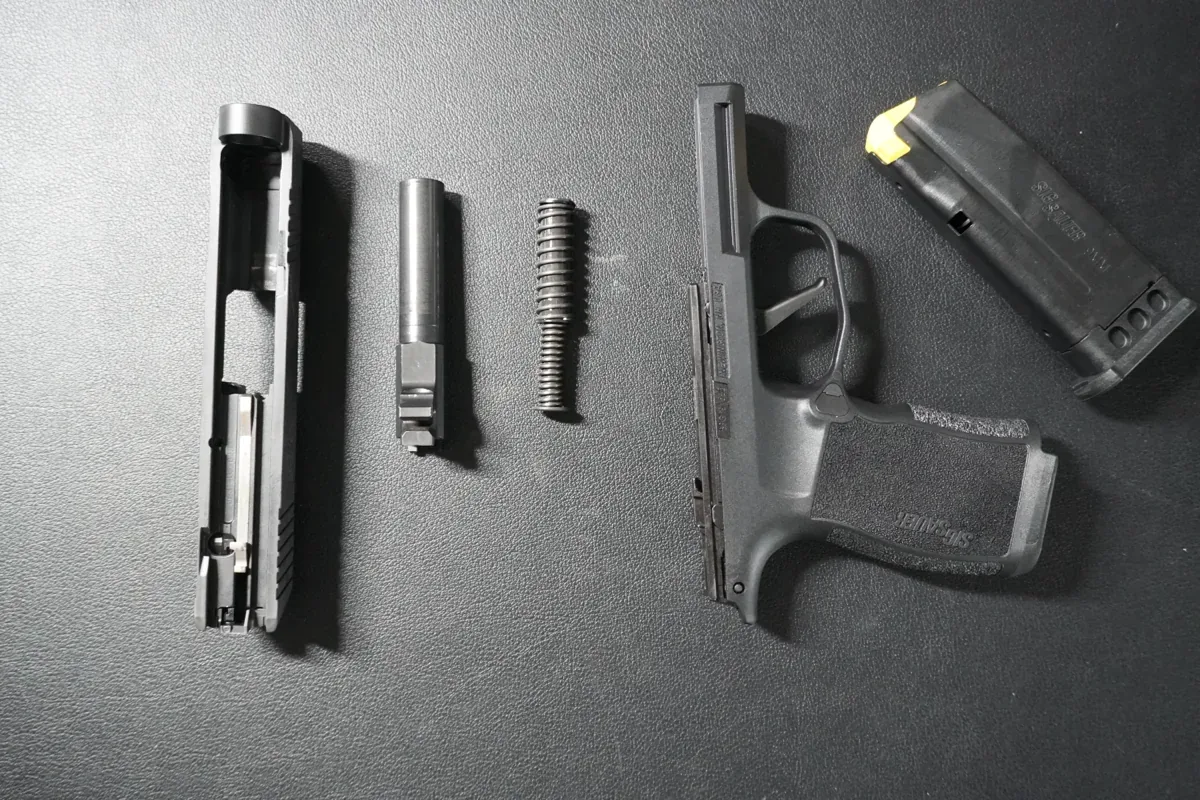
Step 9. Lift the recoil spring assembly out of the slide. Under the barrel, at the muzzle end of the spring tunnel, there's a small cup the front of the spring seats into - it's called the reverse plug (bushing 1911s use a recoil spring plug instead; bull-barrel guns like the HD put it in backwards, hence the name). Lift it out too, then pull the barrel out. That's everything you need for routine field stripping.
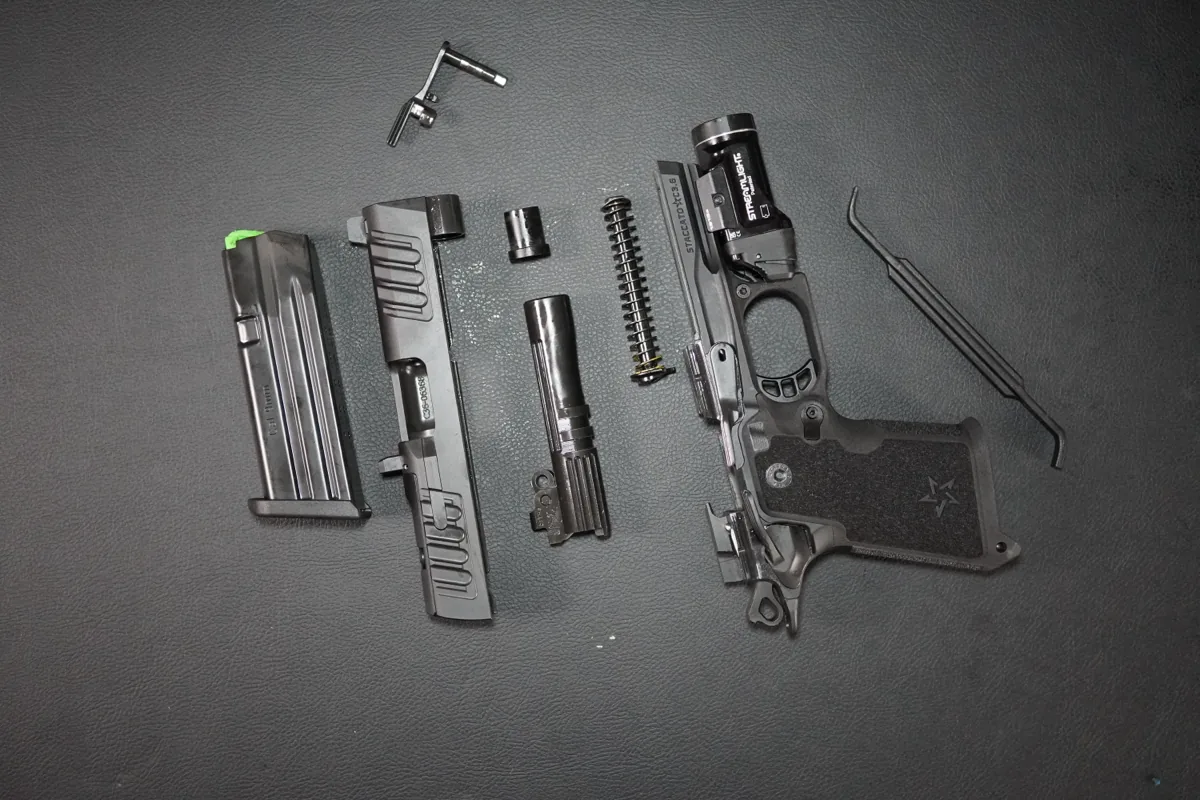
After Break-In: Use the Manual's Method
Here's the part nobody told me. Once I'd put about 400 rounds through the HD 3.6, the slide stop suddenly behaved completely differently. The fit loosened up just enough that I could do exactly what the manual says: pinch the slide stop with the thumb and index finger of my non-firing hand and pull it straight out from the left side of the frame. No tools, no fiddling.
So the cadence I'd suggest:
- Before your first range trip: push the slide stop out from the inside with a plastic tool (Step 4-7 above).
- After break-in (~400 rounds): pinch and pull, exactly as the official manual describes. It's faster than any other method once the gun has worn in.
If you're somewhere in between and the pinch method almost works, a little pressure from the inside with a plastic tool will start the slide stop moving and you can finish pulling it out by hand.
Part 3: Reassembly (the Upside-Down Trick)
The trick that made reassembly easy for me is the opposite of how you'd put together a polymer gun like a Glock or a P365: lay the slide upside down on a table, then drive the frame into it.
This way, the recoil spring assembly stays seated in the slide evenly, instead of tipping into the frame's path, so the rails engage cleanly and the slide locks back in place smoothly. Second, it keeps the barrel link standing where it should be - that's the small swinging tab under the barrel with the hole the slide stop pin slides into from the side. If the link falls over, getting the slide stop back in becomes a fight.
Step 10. Put the barrel back into the slide and seat it flat.
Step 11. Set the reverse plug back into the muzzle end of the spring tunnel, then reinstall the recoil spring assembly the same way it came out, with the front of the spring seated in the plug. Seat both ends fully so nothing rides off to one side - if it's cocked, the slide won't sit flat on the frame.
Step 12. Lay the slide upside down on a stable surface. The top of the slide and the sights are on the table, and the grooves on the inside of the slide are facing up.
Step 13. Hold the frame upside down too, with the frame rails pointing down toward the slide. Lower the frame so the rails drop into the matching slide grooves, then ease the frame forward into the slide. If it doesn't engage cleanly, lift it back out and try again - don't force it.
Step 14. Before you install the slide stop, check that the barrel link is tipped forward (toward the muzzle). This is the #1 cause of "why won't my slide stop go back in?" frustration on any 1911 or 2011. With the slide upside down on the table, gravity usually pulls the link forward on its own; if it doesn't, nudge it with the tip of a punch through the slide stop hole on the frame.
Step 15. Insert the slide stop from the left side of the frame. The cross-pin threads through the frame, through the barrel link, and the tip emerges from the right side of the frame. You may need to nudge the slide a millimeter or two until the cuts line up. The lever should seat flush against the frame.
Step 16. Stand the pistol up and do a quick function check with the pistol still unloaded:
- Pull the trigger and confirm it breaks cleanly.
- Rack the slide and confirm it returns fully into battery.
- Insert an empty magazine and rack the slide - it should lock open.
That's it. Once you've done it a few times - and especially after that first 400 rounds - the HD 3.6 takes about as long to field strip as any other pistol I own. The only thing that makes it feel hard at first is the gun fighting you on a single tight pin. Both Staccato and most reviewers gloss over this, which is why so many of us end up frustrated on day one.
Keep reading
How to Field Strip a Glock 19 (Disassembly & Reassembly Guide)
Step-by-step beginner's guide to field strip and reassemble the Glock 19 — no takedown tool required. The same steps apply to the Glock 17, 19X, 26, and 45.
SIG P365 Disassembly & Reassembly: Field Strip Guide
No trigger press needed — step-by-step SIG P365 disassembly and reassembly (field strip) with photos and videos. Same steps for the P365X and P365 XL.